


How to Build a Rain Garden / Biorentention Basin to Manage Stormwater
When rain falls, it collects wherever it lands and with urban development on the rise, managing this excess water has become a critical necessity. Drainage systems are becoming overwhelmed, causing flooding, and carrying pollutants into local waterways.
However, there is an effective solution to these challenges, known as a rain garden. Beyond controlling flooding, rain gardens / bioretention basins improve water quality, support wildlife habitats, and add aesthetic value.
Developing a rain garden / bioretention basin within your grounds not only protects the environment but builds an attractive landscape for your home.
What is a Rain Garden / Bioretention Basin and how do They Work?
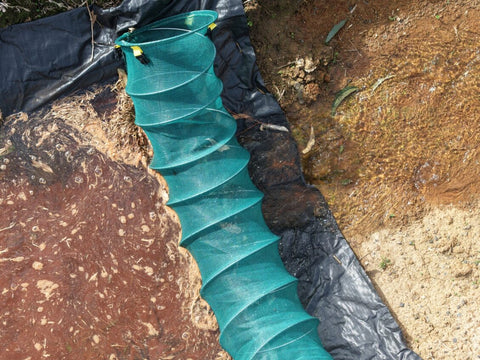
A rain garden / bioretention basin is a shallow, landscaped depression designed to capture and absorb stormwater runoff from roofs, driveways, sidewalks, or streets. It temporarily holds the water, slowly infiltrating it into the soil within 24–48 hours, filtering out contaminants before the water reaches storm drains, rivers or groundwater.
Rain gardens / bioretention basins work by utilising native plants, mulch, and soil to filter pollutants, recharge groundwater, and reduce erosion. Native plants tend to be the preferred choice as they tolerate both wet and dry conditions, attract pollinators, and require minimal maintenance.
In short, a rain garden / bioretention basin is designed to mimic nature’s process of filtration and absorption, to create a sustainable, eco-friendly system for managing stormwater.
Where to Place Your Rain Garden / bioretention basin
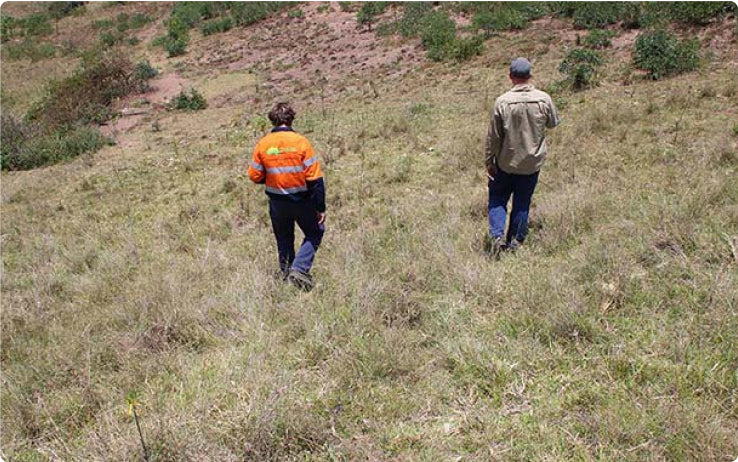
Survey your garden and make a note of where excess stormwater is naturally collected. The location you choose should be at least 3 metres away from your house to keep it safe from entering the home and causing structural issues.
Look for a gentle, sloping area that allows water from roofs, driveways, or sidewalks, to flow into the garden without washing it out. Additionally, the perfect spot should be exposed to partial or full sunlight, since most rain garden plants thrive with adequate light.
Creating Your Rain Garden / bioretention basin
Once you have chosen the ideal spot, you’re ready to create your rain garden:
Step 1: Size and Shape
The area of your rain garden should be about 10–30% of the size of the drainage area. Create a natural looking kidney or oval shape with rope or spray paint to mark the area.
Step 2: Dig the Basin
Remove the soil to create a 6-inch-deep cavity, adding gently sloping sides so water can flow in smoothly. With the excess soil, form a berm (small ridge) on the downhill side to hold water in.
Step 3: Improve the Soil
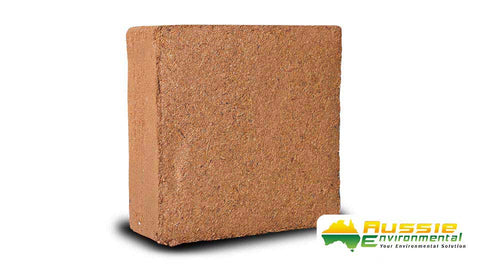
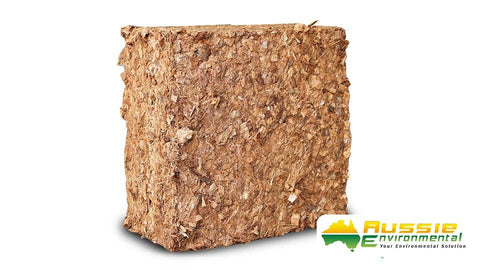
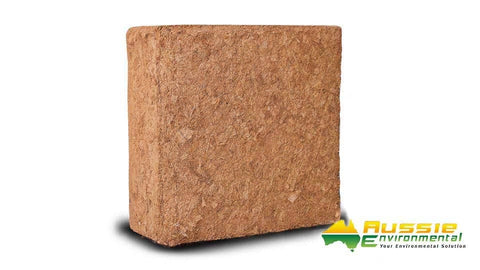
Mix sand and compost, to the existing soil as this promotes drainage and root growth. Try to avoid compacting the soil at the bottom.
Step 4: Plant Selection
Your choice of plants is important as it can affect the outcome of your goal. Native plants are commonly used as they can tolerate both wet and dry conditions.
In the deepest section of your garden, place moisture-loving plants and add drought-tolerant ones on the edges. Mix grasses, flowering perennials, and shrubs for structure and habitat.
Step 5: Mulch and Finish
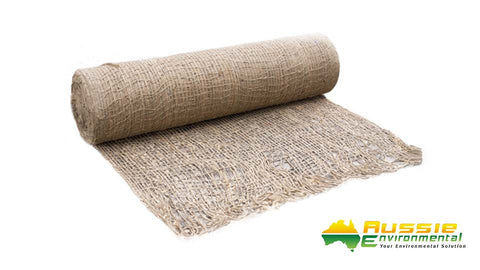
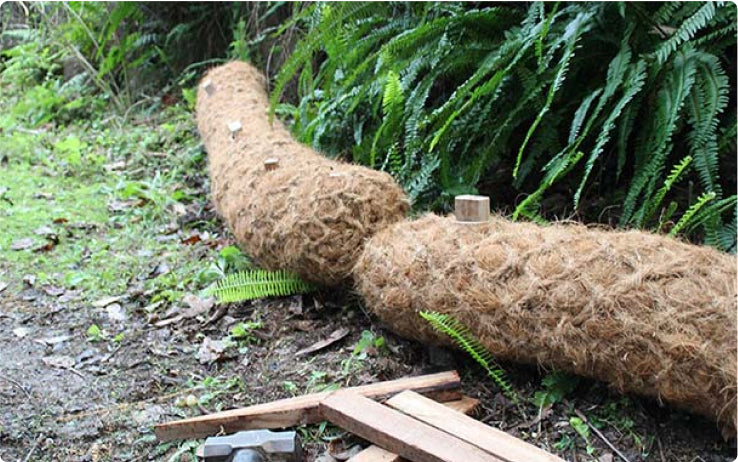
Reduce weeds by applying 5-10 cm of shredded mulch and add decorative rocks at the inflow area to slow water and prevent erosion.
Step 7: Maintenance
During the first year, weed and water your plants until they are established and replenish the mulch as needed. Lastly, and most importantly, enjoy your rain garden as it naturally filters stormwater and attracts pollinators.
Still Need Help?
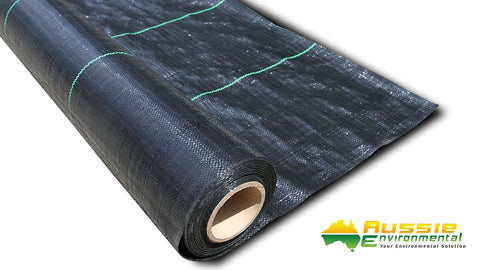
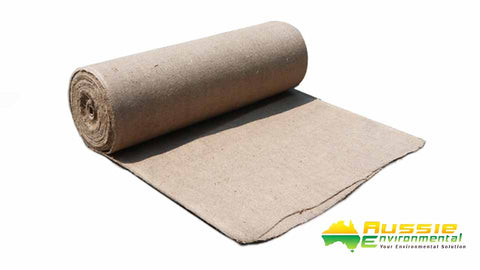
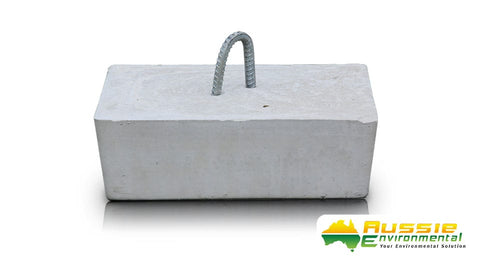
At Aussie Environmental, we stock useful supplies for your rain garden / bioretention basin and other landscaping projects. We also offer expert advice so if this guide wasn’t enough, reach out to our friendly team here and we’ll be happy to help you get started on your rain garden.